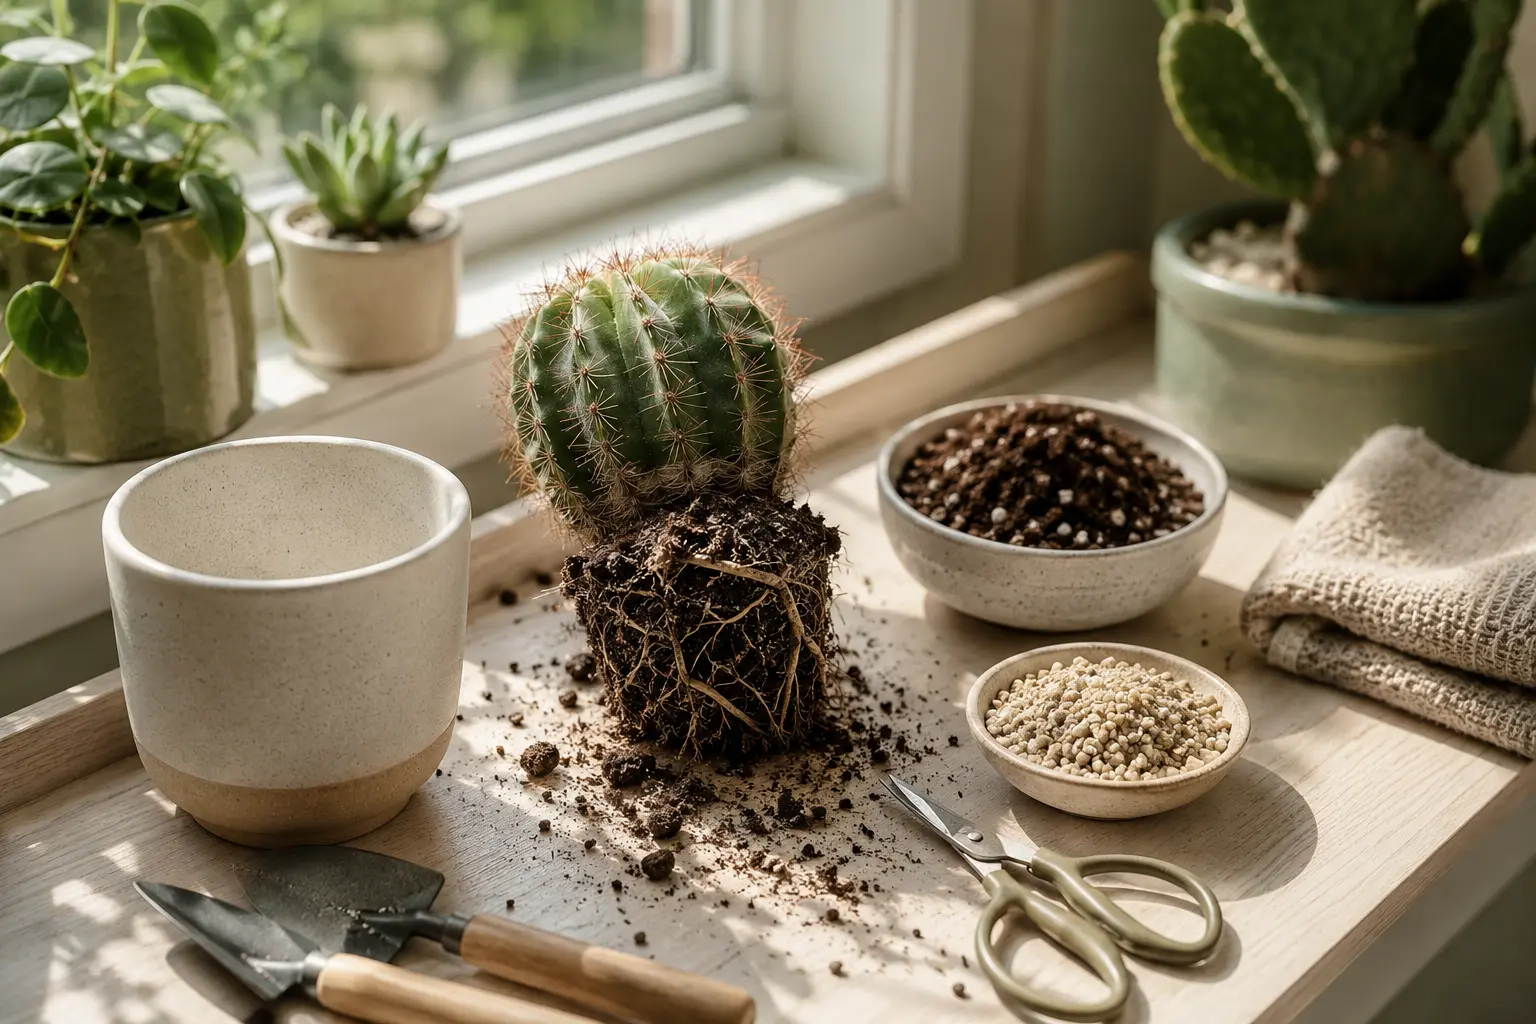
Learn how to treat root rot in cactus plants, including warning signs, causes, step-by-step rescue tips, repotting advice, and how to prevent root rot from coming back.
How to Treat Root Rot in Cactus Plants
Root rot is one of the most serious problems cactus plants can face. A cactus may look strong on the outside, but if the roots are damaged, the whole plant can quickly become weak, yellow, soft, or mushy. Root rot usually happens when cactus roots stay wet for too long.
The good news is that you may be able to save your cactus if you catch the problem early. In this guide, you will learn how to identify root rot, what causes it, how to treat it step by step, and how to prevent it from happening again.
Quick answer: To treat cactus root rot, stop watering, remove the cactus from wet soil, cut away rotten roots, let the plant dry, and repot it in fresh fast-draining cactus soil.
What Is Root Rot?
Root rot is a condition where cactus roots begin to decay because they stay too wet for too long. Healthy cactus roots need air and dry periods between waterings. When the soil stays wet, the roots can become soft, brown, black, or slimy.
Once the roots rot, the cactus cannot absorb water and nutrients properly. This can cause the plant body to turn yellow, brown, soft, or mushy. If the rot spreads into the cactus stem, the plant becomes much harder to save.
Common Signs of Root Rot in Cactus Plants
Root rot can be tricky because the damage starts below the soil. However, there are warning signs you can look for above the soil.
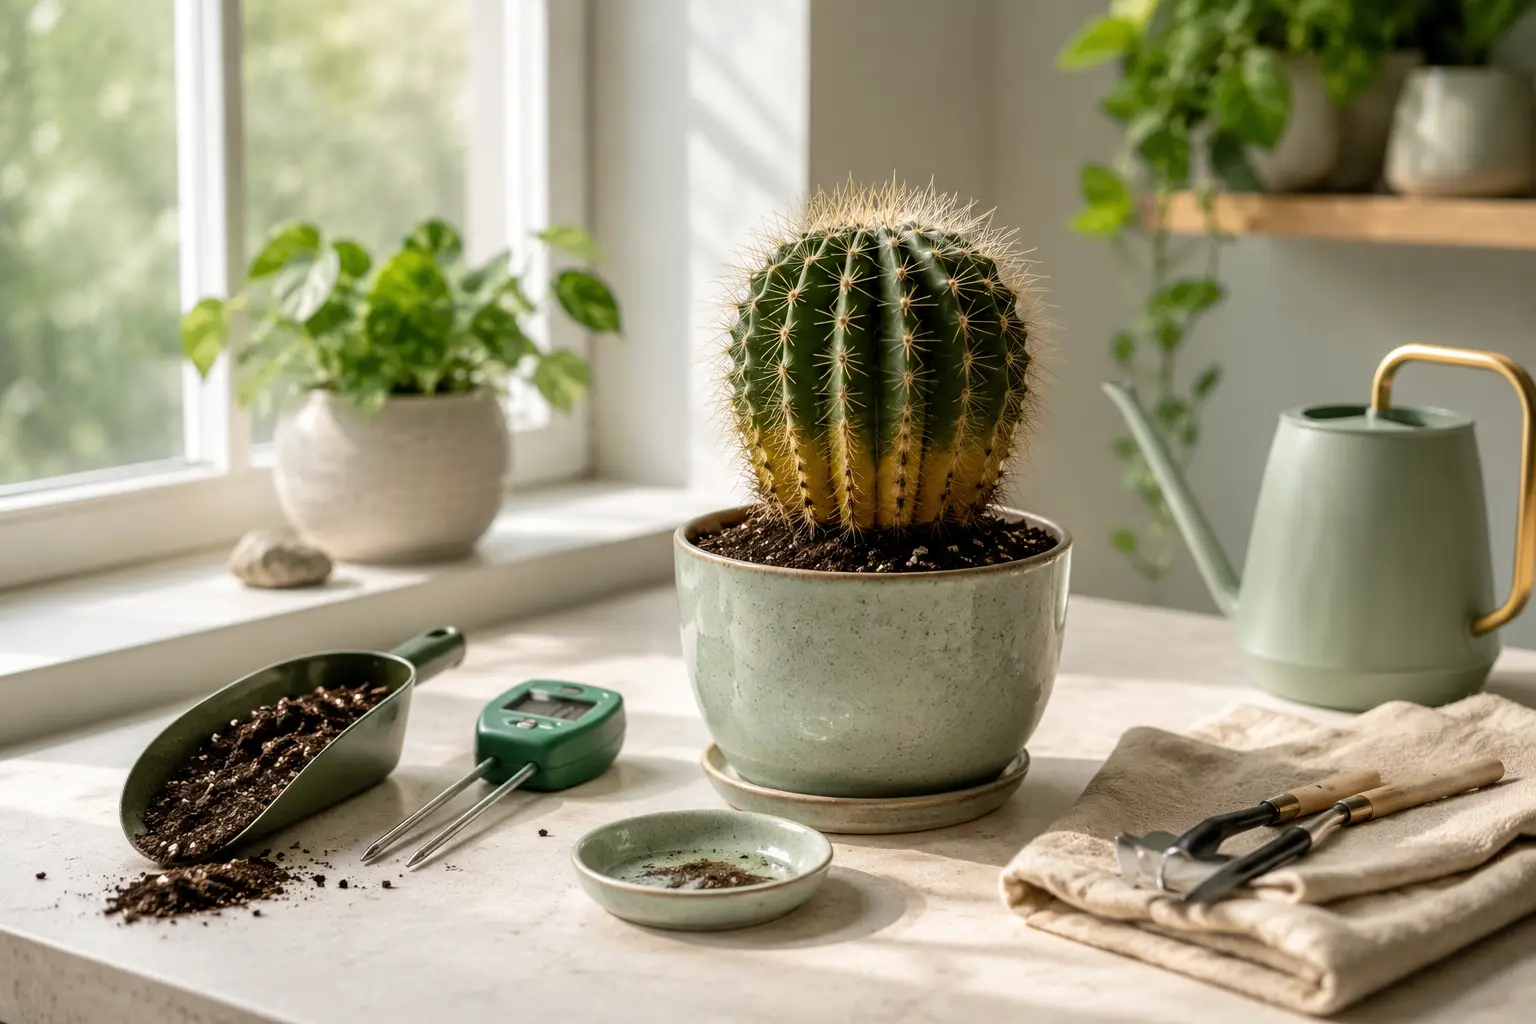
- The cactus is turning yellow or pale.
- The base of the cactus feels soft or mushy.
- The cactus looks swollen, weak, or unstable.
- The soil stays wet for many days.
- There is a bad smell coming from the soil.
- The cactus is leaning or feels loose in the pot.
- Roots look brown, black, soft, or slimy.
What Causes Root Rot?
The main cause of root rot is too much moisture around the roots. Cactus plants are adapted to dry conditions, so they do not like soil that stays wet for a long time.
Root rot can happen because of overwatering, poor drainage, heavy soil, a pot without drainage holes, watering too often in winter, or keeping the cactus in a dark and cool place where the soil dries slowly.
Step 1: Stop Watering Immediately
If you think your cactus has root rot, stop watering immediately. Adding more water will only make the problem worse. The roots already have too much moisture, and they need a chance to dry.
Do not fertilize the cactus while it is stressed. Fertilizer will not fix rotten roots. The first goal is to remove excess moisture and check how much damage has happened.
Step 2: Remove the Cactus from the Pot
Wear thick gloves or use folded paper to protect your hands from cactus spines. Carefully remove the cactus from the pot and gently shake away the old soil from the roots.
If the soil is wet, heavy, or smells bad, do not reuse it. Old wet soil may contain harmful bacteria or fungus that can continue damaging the cactus.
Step 3: Inspect the Roots Carefully
Look closely at the roots. Healthy cactus roots are usually firm and light-colored. Rotten roots are often brown, black, soft, slimy, or have a bad smell.
If only a few roots are rotten, your cactus has a better chance of recovery. If almost all roots are rotten and the base is mushy, the cactus may be harder to save.
Step 4: Cut Away Rotten Roots
Use clean scissors or a clean sharp knife to remove all rotten roots. Cut away any roots that look black, brown, soft, or slimy. It is important to remove all damaged parts because rot can continue spreading.
Clean your tool before and after cutting. Dirty tools can spread bacteria or fungus to healthy parts of the plant.
Step 5: Check the Base of the Cactus
After checking the roots, inspect the base of the cactus. If the base is firm and green, the cactus may recover after repotting. If the base is soft, black, brown, or mushy, the rot may have moved into the cactus body.
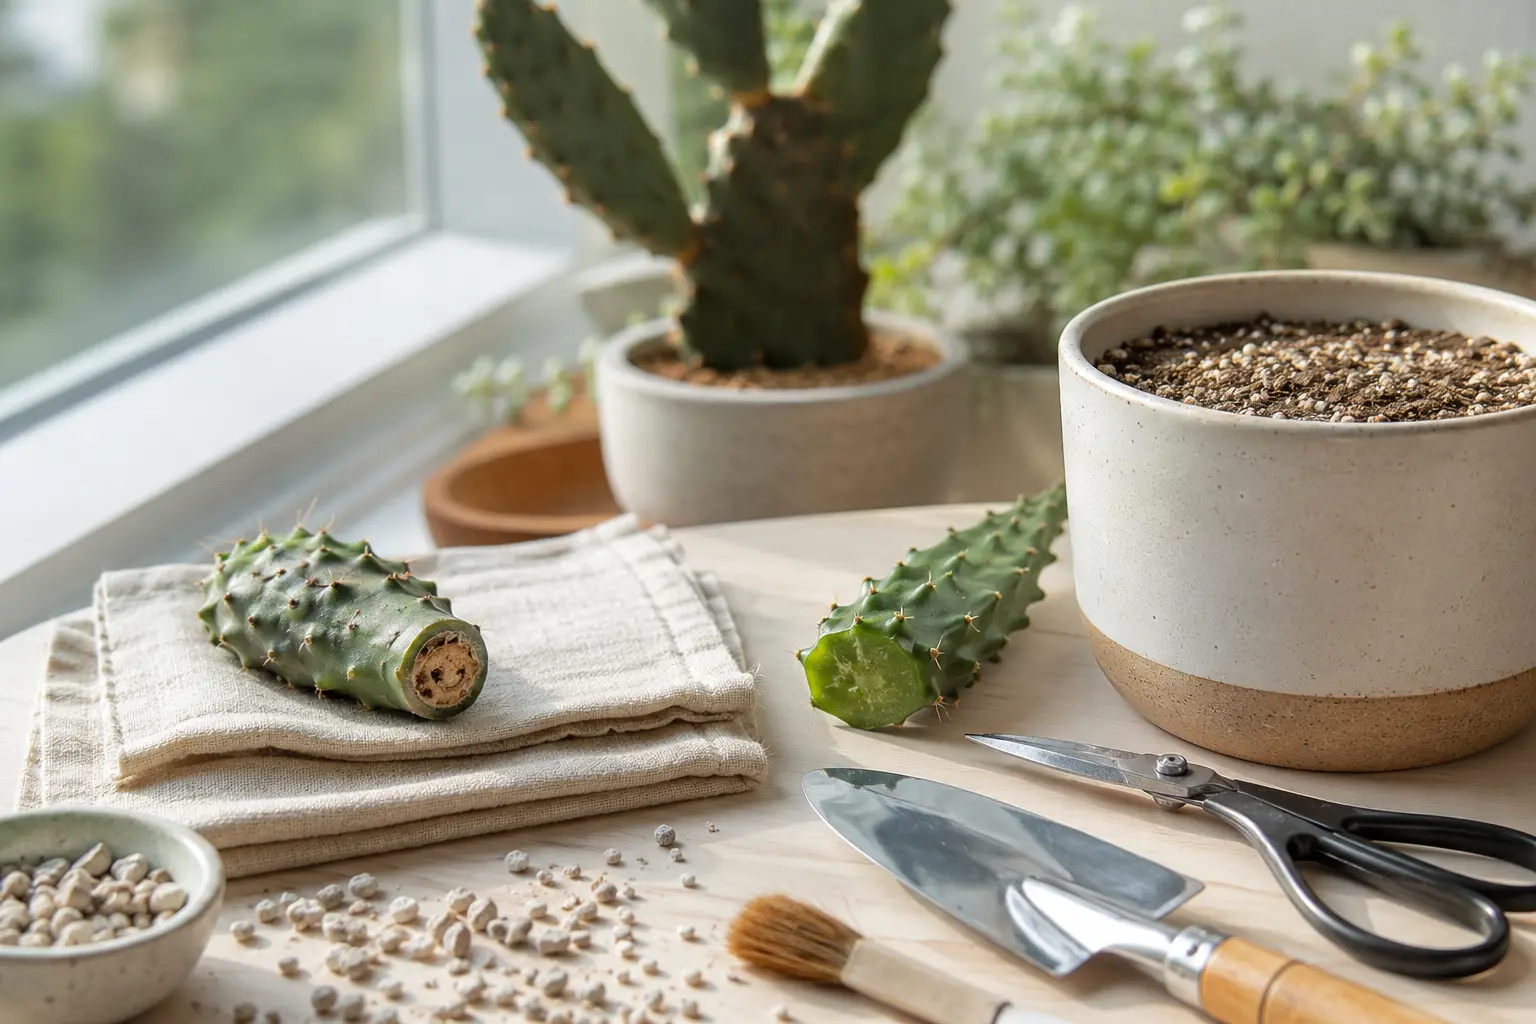
If the base is rotten but the top of the cactus is still firm, you may need to cut the healthy top and propagate it as a new plant.
Step 6: Let the Cactus Dry
After removing rotten roots, let the cactus dry in a shaded, airy place for several days. This drying period allows cut areas to heal and form a dry protective layer.
Do not place the cactus in wet soil immediately after cutting damaged roots. Repotting too soon can trap moisture around the wounds and cause rot to return.
Step 7: Repot in Fresh Dry Cactus Soil
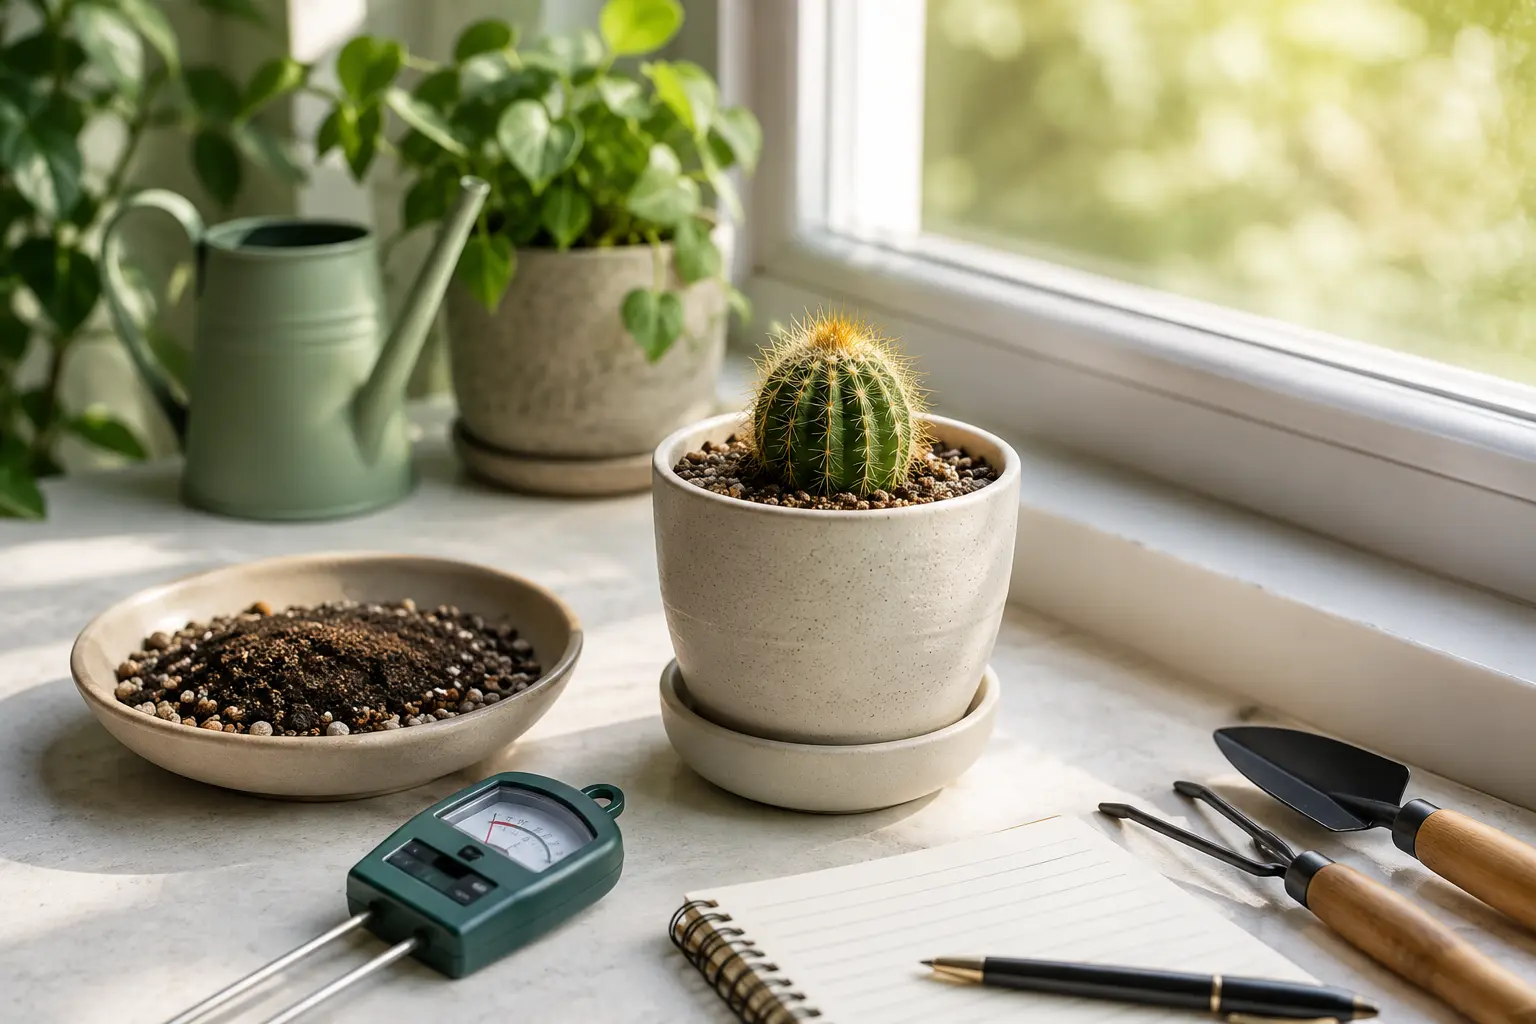
Once the cactus has dried, repot it in fresh dry cactus soil. Use a fast-draining cactus mix that does not hold too much water. You can improve drainage with perlite, pumice, coarse sand, or small gravel.
Choose a pot with drainage holes. Drainage holes are very important because they allow extra water to escape after watering.
Step 8: Wait Before Watering Again
After repotting a cactus that had root rot, do not water immediately. Wait several days before watering. This gives the roots and cut areas more time to recover.
When you water again, water lightly at first. After that, return to a careful cactus watering routine: water only when the soil is completely dry.
What If All the Roots Are Rotten?
If all the roots are rotten but the upper part of the cactus is still firm and healthy, you may be able to save the plant by taking a cutting. Use a clean knife to cut above the rotten area.
Let the healthy cutting dry for several days until the cut end forms a callus. Then place it in dry cactus soil. Do not water immediately. Wait until new roots begin to form before watering carefully.
How to Prevent Root Rot in the Future
- Water only when the soil is completely dry.
- Use fast-draining cactus soil.
- Choose a pot with drainage holes.
- Avoid leaving water in the saucer.
- Reduce watering during winter.
- Keep cactus plants in bright natural light.
- Avoid heavy garden soil.
- Use terracotta pots if your soil dries slowly.
Best Soil for Cactus Root Rot Prevention
A good cactus soil mix should be light, gritty, and fast-draining. Regular potting soil alone often holds too much moisture, which can increase the risk of root rot.
A simple beginner-friendly cactus soil mix is one part potting soil, one part perlite, and one part coarse sand or pumice. This helps water move through the soil quickly and gives roots better airflow.
When Is It Too Late to Save a Cactus?
It may be too late to save the cactus if the entire plant is soft, black, mushy, watery, and collapsing. A strong bad smell is also a sign that the rot is advanced.
However, if any part of the cactus is still firm and healthy, you can try to save it as a cutting. Even if the original roots are lost, the healthy top may grow new roots with proper care.
Final Thoughts
Root rot in cactus plants is usually caused by too much water, poor drainage, heavy soil, or watering too often during low-light conditions. The faster you act, the better chance your cactus has to recover.
To treat root rot, stop watering, remove the cactus from wet soil, cut away rotten roots, let the plant dry, and repot it in fresh fast-draining cactus soil. After recovery, water only when the soil is completely dry and always use a pot with drainage holes.